How to Convert Physical TM SIM to TM eSIM | Complete Guide 2026
As mobile technology evolves, more Filipinos are switching from traditional physical SIM cards to eSIMs for convenience and flexibility. If you’re a TM (Touch Mobile) user, you can now easily convert your physical TM SIM to TM eSIM and enjoy a faster, clutter-free mobile experience.
Before anything else, make sure your TM SIM is registered. It’s required for a smooth SIM-to-eSIM conversion. If you haven’t done it yet, complete your TM SIM Registration first. This guide explains everything you need to know, from what an eSIM is to how you can safely and quickly convert your TM SIM.

What is a TM eSIM?
A TM eSIM (Embedded Subscriber Identity Module) is a virtual version of a standard SIM card. Instead of placing a physical SIM into your phone, the TM eSIM is already embedded within your device’s hardware. It can be activated easily through a QR code supplied by your mobile network, in this case, TM.
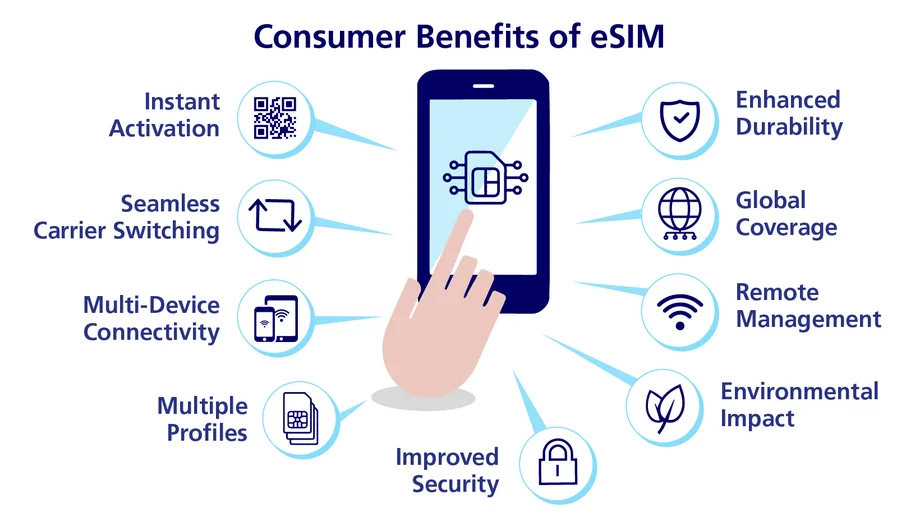
Key Benefits of TM eSIM:
Things You Need Before Switching to an eSIM
Before getting started, ensure that you meet these requirements:
Popular eSIM-Compatible Devices
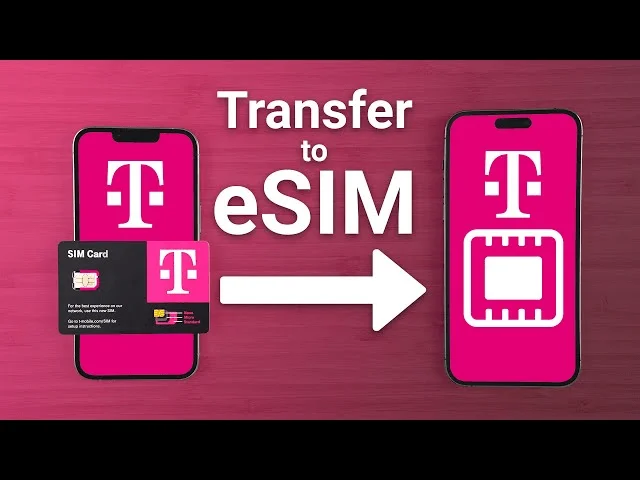
Step-by-Step Guide: How to Convert Your TM Physical SIM to eSIM
Follow these easy steps to convert your physical SIM into an eSIM. And if you’re experiencing issues like TM SIM No Signal, make sure to fix that first so the conversion process goes smoothly.
Step 1: Prepare Your Account
Make sure your TM number is active and registered in your name. You can check your registration status by texting: SIMREG to 8080, and if you haven’t registered yet, you can follow our full guide on How to Register TM SIM to complete the process. This is particularly useful during coding hours in Metro Manila, helping you stay connected and productive without interruptions.
Step 2: Backup Your Contacts and Data
Before conversion, back up your contacts and messages to avoid data loss.
Step 3: Visit the Nearest Globe or TM Store
Go to any Globe Store (TM’s service partner). Bring:
Step 4: Request for eSIM Conversion
Tell the staff that you want to change your TM physical SIM to an eSIM. They will confirm your information and handle the conversion process for you.
Step 5: Get and Scan Your eSIM QR Code
After verification, you’ll receive a QR code. Go to your phone’s Settings → Mobile Data → Add eSIM, and then scan the QR code provided.
Step 6: Activate and Test
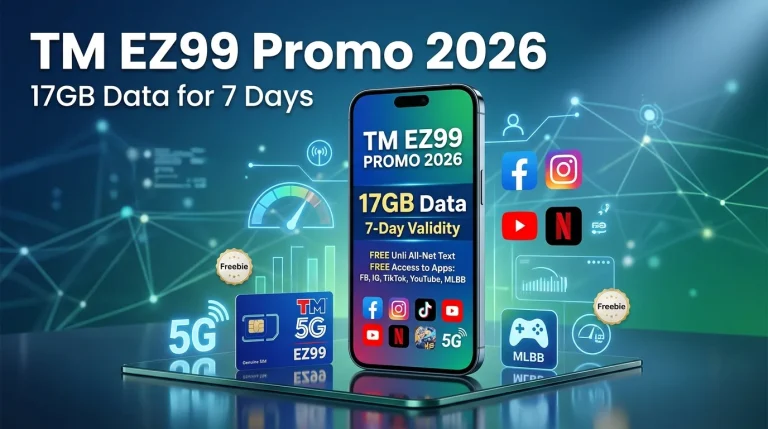
Once scanned, your TM eSIM will activate automatically. Try making a call or using data to confirm successful activation and if you want to maximize your new eSIM experience, you can also check out the latest TM Promos available.
How Much Does TM eSIM Conversion Cost?
Conversion fees may vary slightly depending on the store, but they are typically free or cost ₱100–₱150. Always confirm with the store before processing.
Can I Use Both Physical and eSIM on My Phone?
Absolutely! Many smartphones offer Dual SIM functionality, allowing you to use one physical SIM and one eSIM at the same time. This is perfect if you want to keep both personal and work numbers on the same device.
Tips for a Smooth eSIM Activation
Conclusion
Switching from a physical TM SIM to a TM eSIM is a smart move if you want more flexibility, faster setup, and an eco-friendly mobile option. It’s quick, easy, and helps future-proof your connectivity as more phones adopt eSIM technology. So, if your phone supports eSIM, visit your nearest Globe, TM store, or TM Customer Service today and make the switch!